How Are Precast Concrete Panels Made?

There are many benefits to precast concrete and a significant number of these advantages come from the production process. But have you ever wondered what happens within the walls of a precast concrete facility?
After reading this blog, you’ll be able to answer how are precast concrete panels made, and may even be interested in scheduling a tour to see it all for yourself.
#1. Build the Molds & Cage Fabrication
The first step of building your precast panels is to build the molds that the concrete will set in. These molds are based on your engineering plans and drawings that are finalized prior to production.
Typically, these molds are made of wood and are sanded down by a machine and topped with an epoxy coating so the moisture in the concrete doesn’t seep into the wood mold. If an applied finish is requested, this will be placed prior to the concrete being poured into the mold.
With our PCI certification level as an AA producer, we adhere to very tight tolerances for the molds that are used for our products.
If you’re looking for a more unique or creative aesthetic design for the exterior of your building, formliners are used during the molding process. The formliners are implemented into the mold to create the revels or patterns you’re looking to replicate for the exterior of your building. Formliners can be made from many different types of materials such as rubber, plastic, or foam.
To maximize efficiency and streamline the process, formliners can be reused many times depending on the material selected. The material selected will be determined by cost or planned number of uses. Foam is typically used only once, but rubber can be utilized many times. By repeating exterior patterns, your project saves money and uses less materials.
One way to achieve more detailed designs is through a CNC machine that cuts a pattern or emblem into foam creating a mold inset. We can also use a laser cutter that can cut through the foam to add block-outs or placeholders for other elements in the design. Both machines allow for a reduced risk of human error so the process is highly efficient and streamlined.
As the molds and formliners are being produced, our team also begins to construct the rebar that will go into the mold. These rebar cages help strengthen and make your precast architectural concrete panels more durable.
Our precast facilities use rebar benders and cutters so every element is precut and prebent to make that cage fabrication process more efficient. Once the rebar is bent according to the engineer's drawings, our team uses a machine to help tie the rebar together to form the cage frame that sets within the mold. The rebar is used within the panels to help increase the strength and durability of the precast concrete panels.
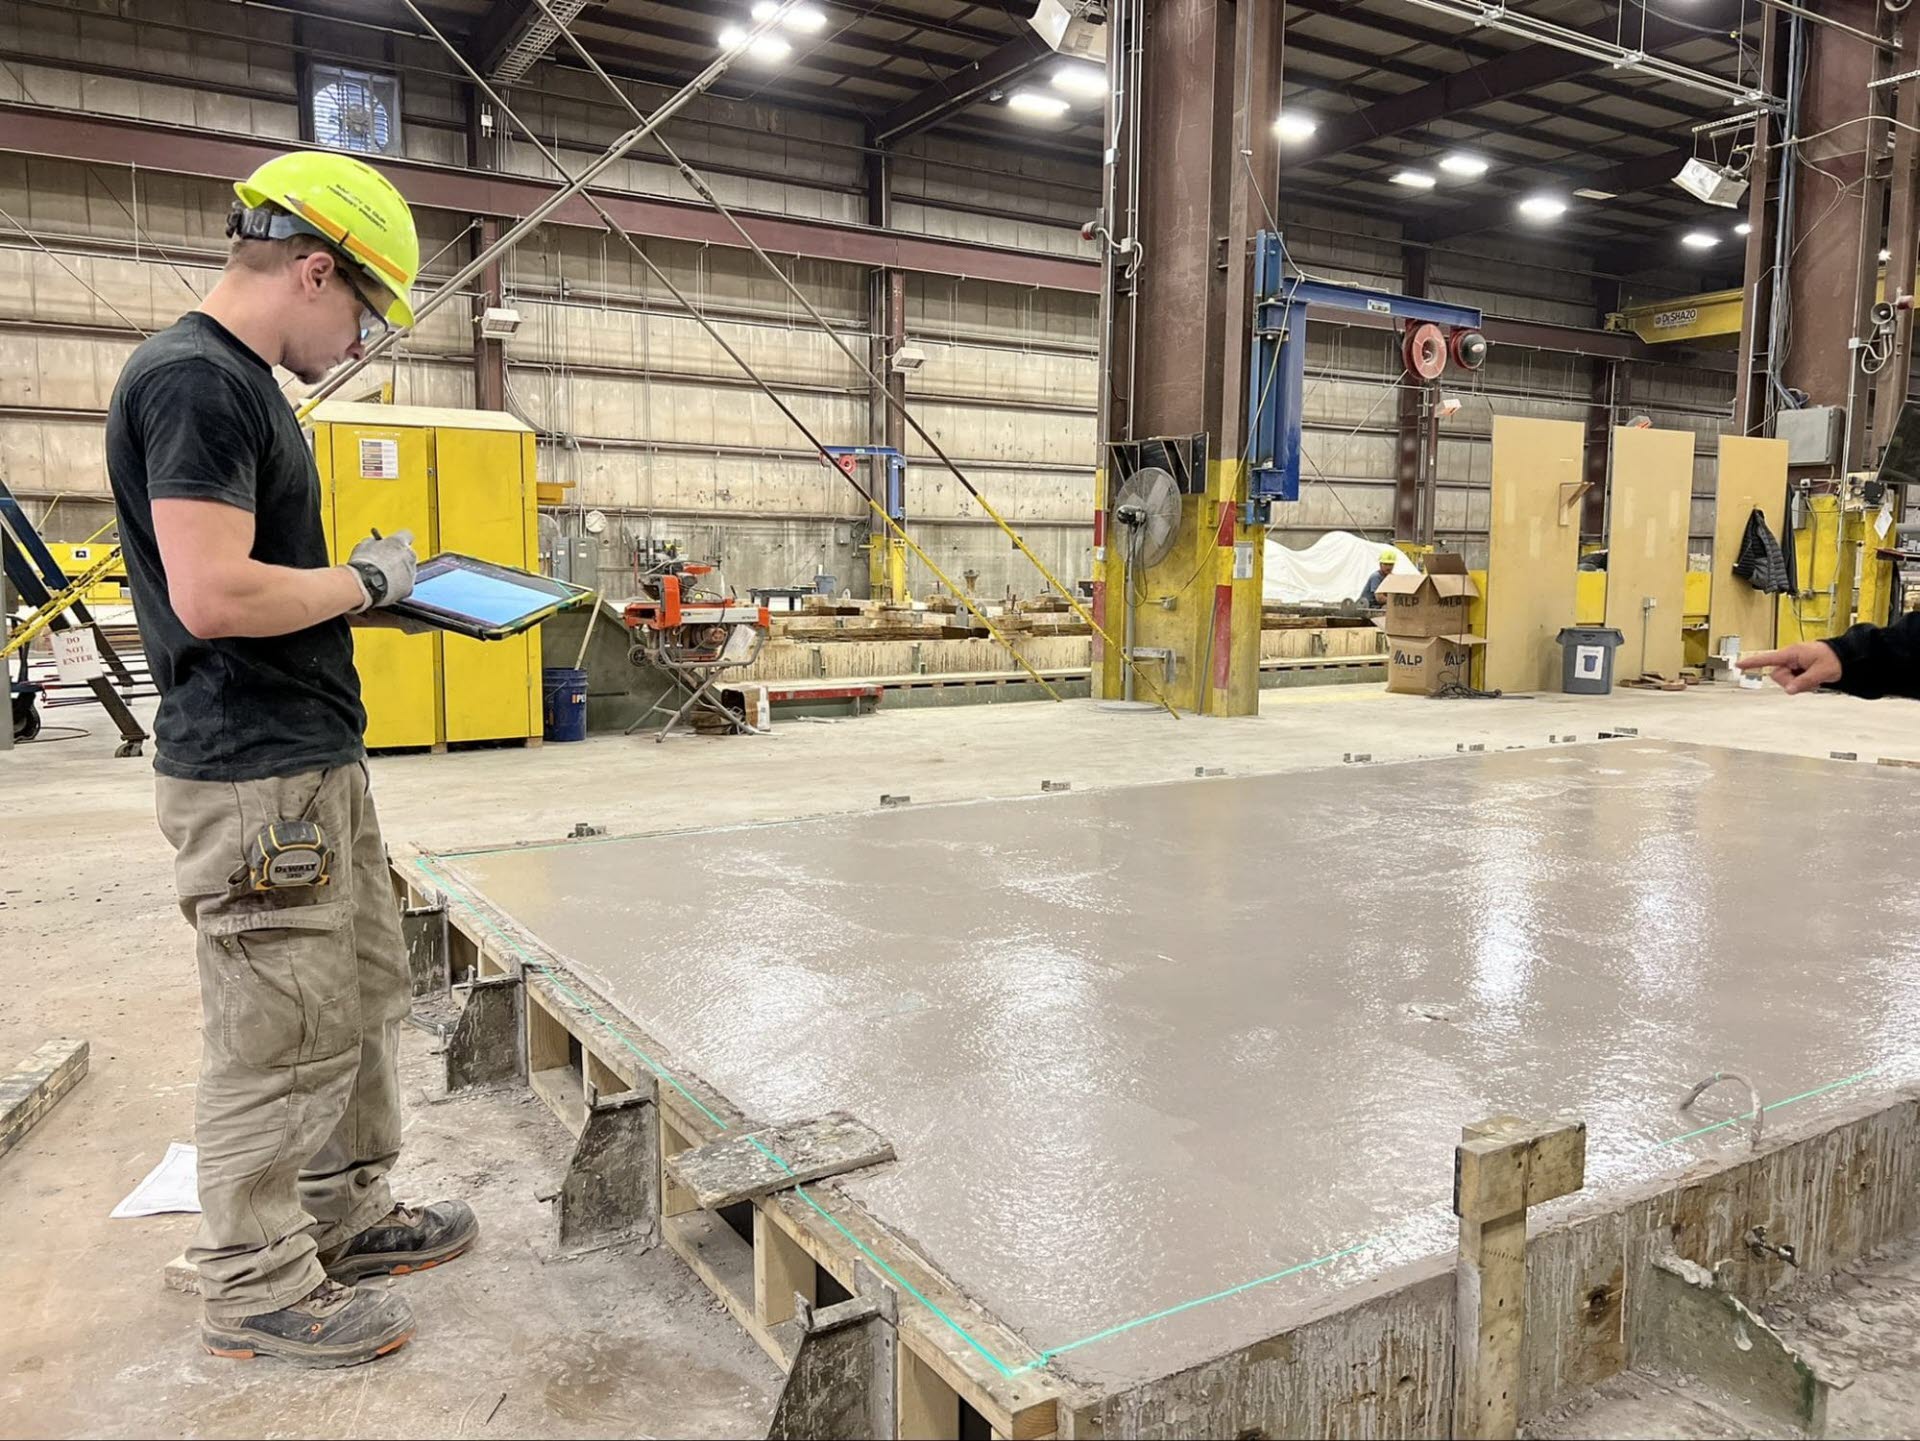
Now that the mold and the rebar cage are ready to be put together, our team will use laser measurements to align the blueprint drawing with the mold. The lasers show our team where the mold elements, reinforcements, and connections should be placed based on the engineering drawing. Ultimately, this reduces the risk of human error by illuminating the blueprint measurements directly over the locations of each element.
Batch Plant
With the mold, formliners, and cage fabrication produced, it’s time to start mixing the concrete. All of the aggregate mixing is done within our batch plant. Our team measures out each of the raw materials and then dumps them into a larger bucket.
Testing is then completed to measure the moisture level to ensure the water-cement ratio is acceptable. This is a crucial step in the process because a higher water-cement ratio could lead to a weaker and less durable precast concrete panel.
Once the moisture content is at the right level, the mixture of aggregates, cement, water, and pigments is all dumped into essentially a mixing bowl. This is where raw materials are properly blended together.
With over 500 variations of color and finish options, the mixing process for precast concrete can be personalized to match the needs of your organization and building. Our batching process is able to measure each mix design for each pour so the right color is being produced to keep the panels coordinated and consistent with one another.
#2. Post-Tension & Pre-Tension Tests
Although precast concrete has high compressive strength, the concrete alone is weak in tension. Because of this, we conduct either prestressing or post-tension testing to strengthen the concrete and make it more durable for your structure.
These strands act as a reinforcement for the precast panels. Prestressing tests are completed before the concrete is cast, which means the concrete hardens while maintaining its tensile strength.
Post-tension happens after the panel is poured. So the strands are able to be tightened, and surrounded by a tube-like element on the outside of the strand. This allows for the strand to be able to move and later in the curing process to give similar tensile strength to the panel.

#3. Pour the Concrete
The controlled environment of a precast concrete facility allows for higher efficiency. In fact, our team can lay out, pour, and strip one concrete panel in a day.
Depending on the size of your project, the concrete mix design will be dumped into a pouring bucket or a truck. In order to maintain maximum efficiency, the entirety of your mold should be poured at the same time. This ensures that portions of the panel aren’t starting to set before the rest of the panel is completed.
Because precast concrete is produced within a controlled facility, each of these high-performance concrete panels can be cured much faster and more consistently than if they were being set at the job site.
Once the concrete is poured into the mold, a vibration tool is used throughout the panel to help settle the aggregate and remove any air pockets left. As a final step, our team sprays a smooth coating of product on the panels and hand smooths the back surface. If this is an insulated panel, this is a very intentional process so the walls can be directly painted on, if desired.
A great benefit of precast concrete is the ability to produce prefabricated insulated wall panels. If your structure requires insulated precast concrete panels, our team will leave two-thirds of the wythe of connectors exposed so insulation and the back wythe can be added and poured. The thickness of the insulation and ultimately the panel will depend on the structure’s desired r-value and structural requirements.
When we’re constructing an insulated panel, the front architectural wythe will be the outside or exterior of the panel. This is the portion that gets a nice finish later in the process. Then a layer of insulation is placed in the mold.
Once the insulation is installed, the rebar cage and tension strands run through the panel. The back wythe is poured and smoothed, following the initial process we mentioned above.
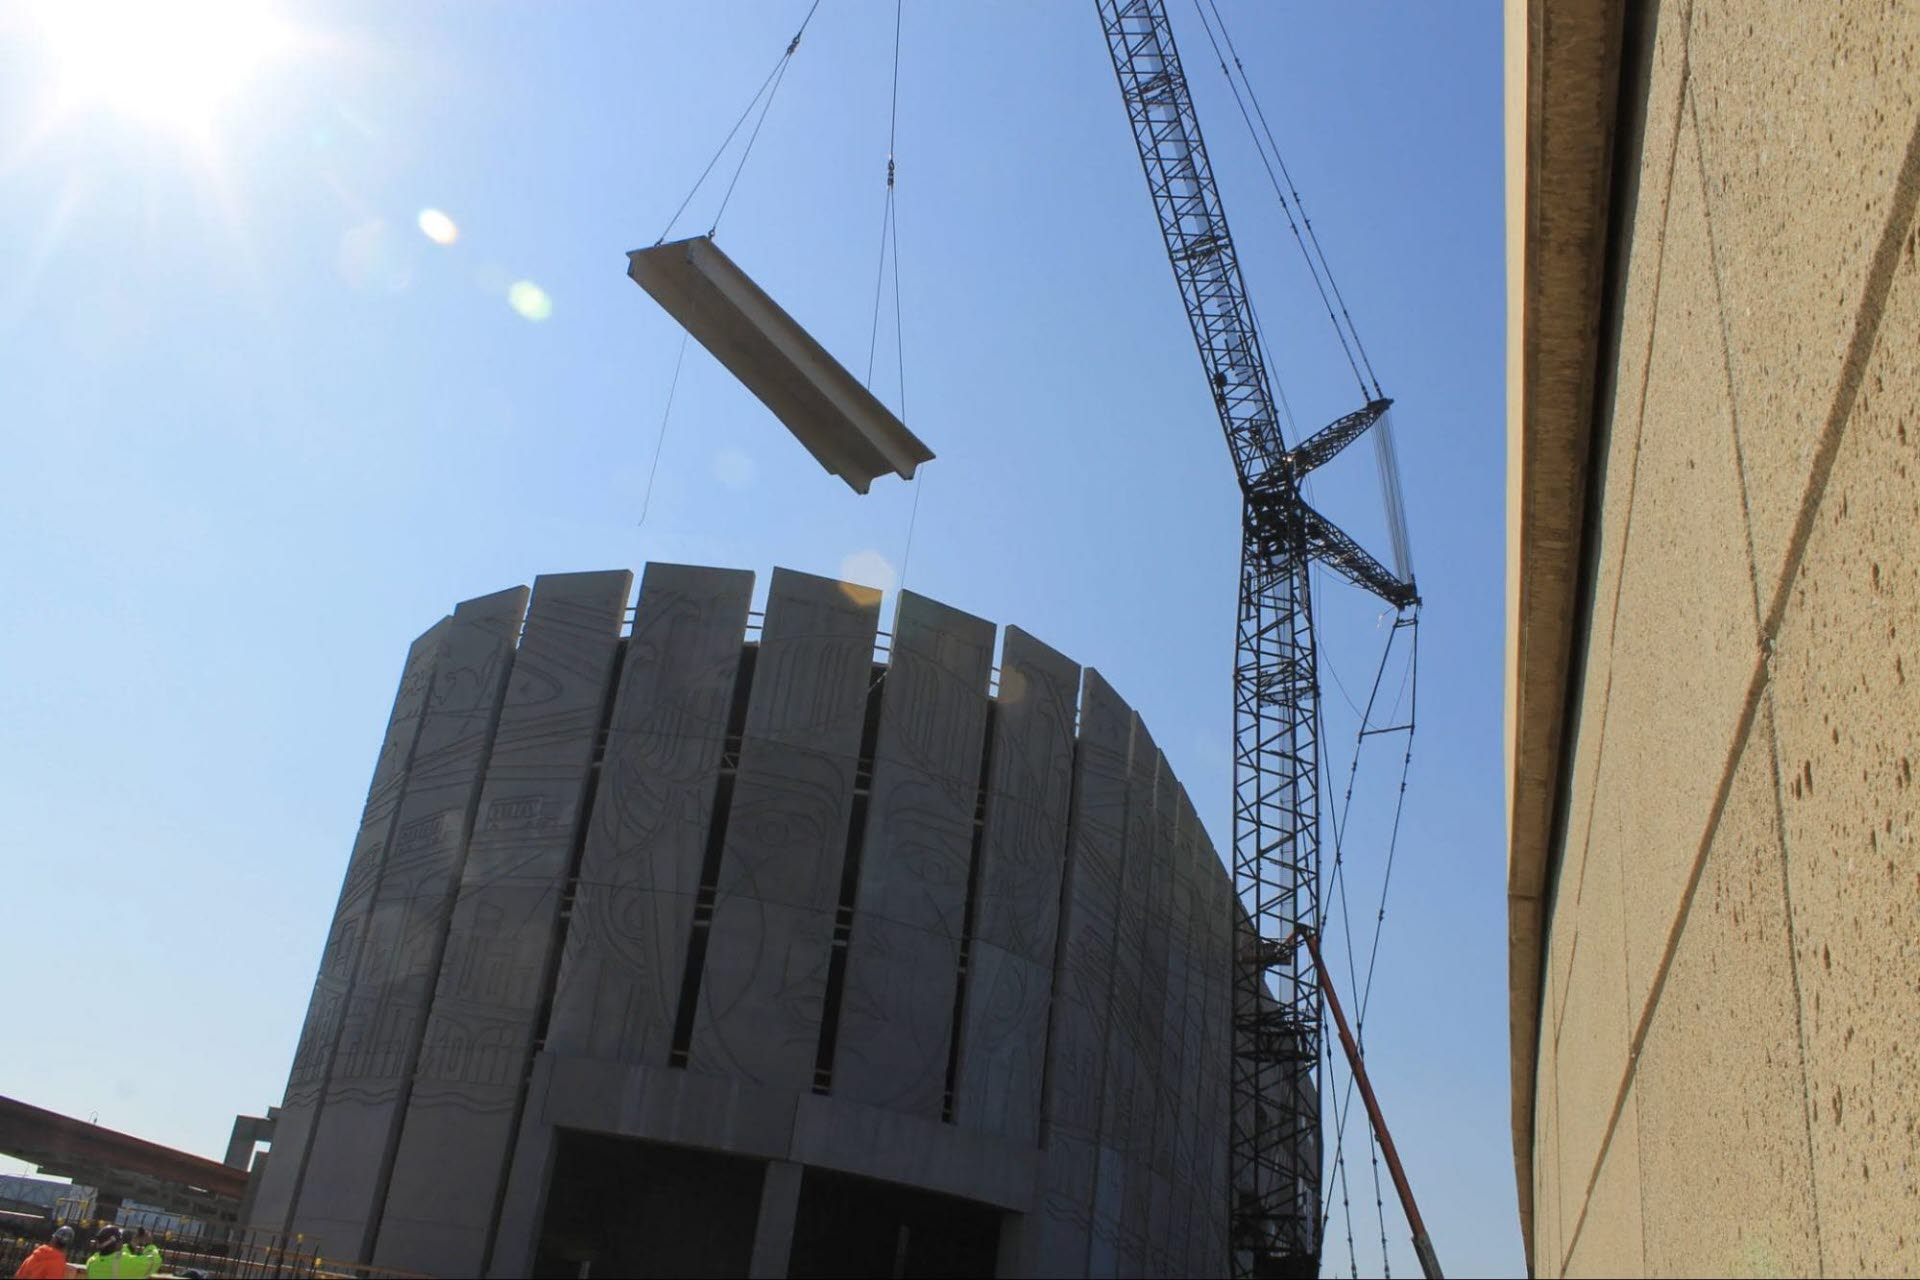
If not added prior, some connection elements and lift pins will be added to the precast after the concrete is poured and smoothed out. These elements help with lifting, shipping, and placing the panel once it leaves the plant.
Two-Piece Pour
To further maximize efficiency and time, our team can do two-piece pours. These are used for the corners of your building. Our team pours the smaller part of the panel first, gets it prepped and cured, and then flips it to its side to pour the adjacent side.
This process eliminates the need for joints on the corners and can be a significant stylistic benefit to many architectural projects.
#4. Strip the Panels
When the precast panels are cured, we’ll strip them out of the molds and take them to our yard to be finished. All the panels are sprayed with water to ensure all remnants of the mold and any excess residue are off the panels.
#5. Add Post-Finishing Texture
Any patterns or shapes that you want to be implemented on your structure will happen while the concrete is in a liquid state. However, textures are completed in this step. There are five different types of textures we can achieve through the finishing process of precast concrete.
The most common finish used is almond blasting. The blasting process is very delicate and our team manually shoots the little particles at the surface of the panels. Our employees are trained to judge the depth level so it remains consistent throughout the entire panel.
This blasting finish exposes the aggregate in the mix design. This finish can be light, medium, or heavy depending on your stylistic preferences.
After finishes are completed, the panel is set out in the yard to gain strength. When the material is first picked out of the mold, the psi levels are between 2,500 - 3,500. After a week of sitting out, the strength of the concrete increases drastically, getting up to a 4,000 to 7,500 psi level.
#6. Implement Additional Building Elements
As one of the last steps before your precast panels are shipped to your site, our team has the ability to apply masonry and windows to the exterior of your building. This is a significant step that decreases construction time and ensures your project stays within your timeline.
Additionally, our team can incorporate elements such as electrical boxes and embeds which helps with trade coordination. Precast concrete structures have very similar characteristics to modular and prefabricated systems. A majority of the process is done off-site which minimizes on-site labor and time.

#7. Transporting and Installing Your Precast Panels
After we’ve completed your precast panels, it’s time for them to be transported to your site. By transporting your panels already constructed, the installation process is streamlined. It also means site preparation and production can happen simultaneously.
This is dramatically more efficient than cast-in-place and tilt-up, the required time on-site is significantly less. In fact, depending on the size of the building, a precast structure can be fully erected in a matter of days. Within one day, between 14 to 16 precast panels can be installed.
Get an in-depth look into how precast concrete panels are made by scheduling a plant tour.

